Backstory: we are building a home that was supposed to be done in July but now we’re looking at mid-October (yay). For the time being we had to move into my parent’s guest house which is perfect, but 1: I don’t want to put anything up in their house and 2: it’s a lot less space than we are used to. For this reason, I really condensed our learning space to move and be put away easily. With this setup I can literally take school anywhere and set up anywhere with little effort. I love it so much that I’m going to keep this setup even in our new home!
We homeschool with Mother Goose Time which is ESSENTIAL for this method. Each month you are delivered a flawless and customizable curriculum with lesson plans, books, puzzles, learning tools and supplies straight to your door. They pre-bag each lesson so you can literally open the bag and start the lesson if you choose to (like me). This makes my crazy schedules, small space and general preschool homeschooling so much easier to work with.
Here is the way I set up my teaching space:
Step 1: Keep your essentials organized on a folding science board.


The days of the week and weather is interchangeable for each day, along with the days on the calendar. To make it super easy, I keep them attached in a sheet protector on the back where me and the kids can easily reach them each day. I also keep a glue stick in the bag so I don't have to search for one each time we glue on the new date.
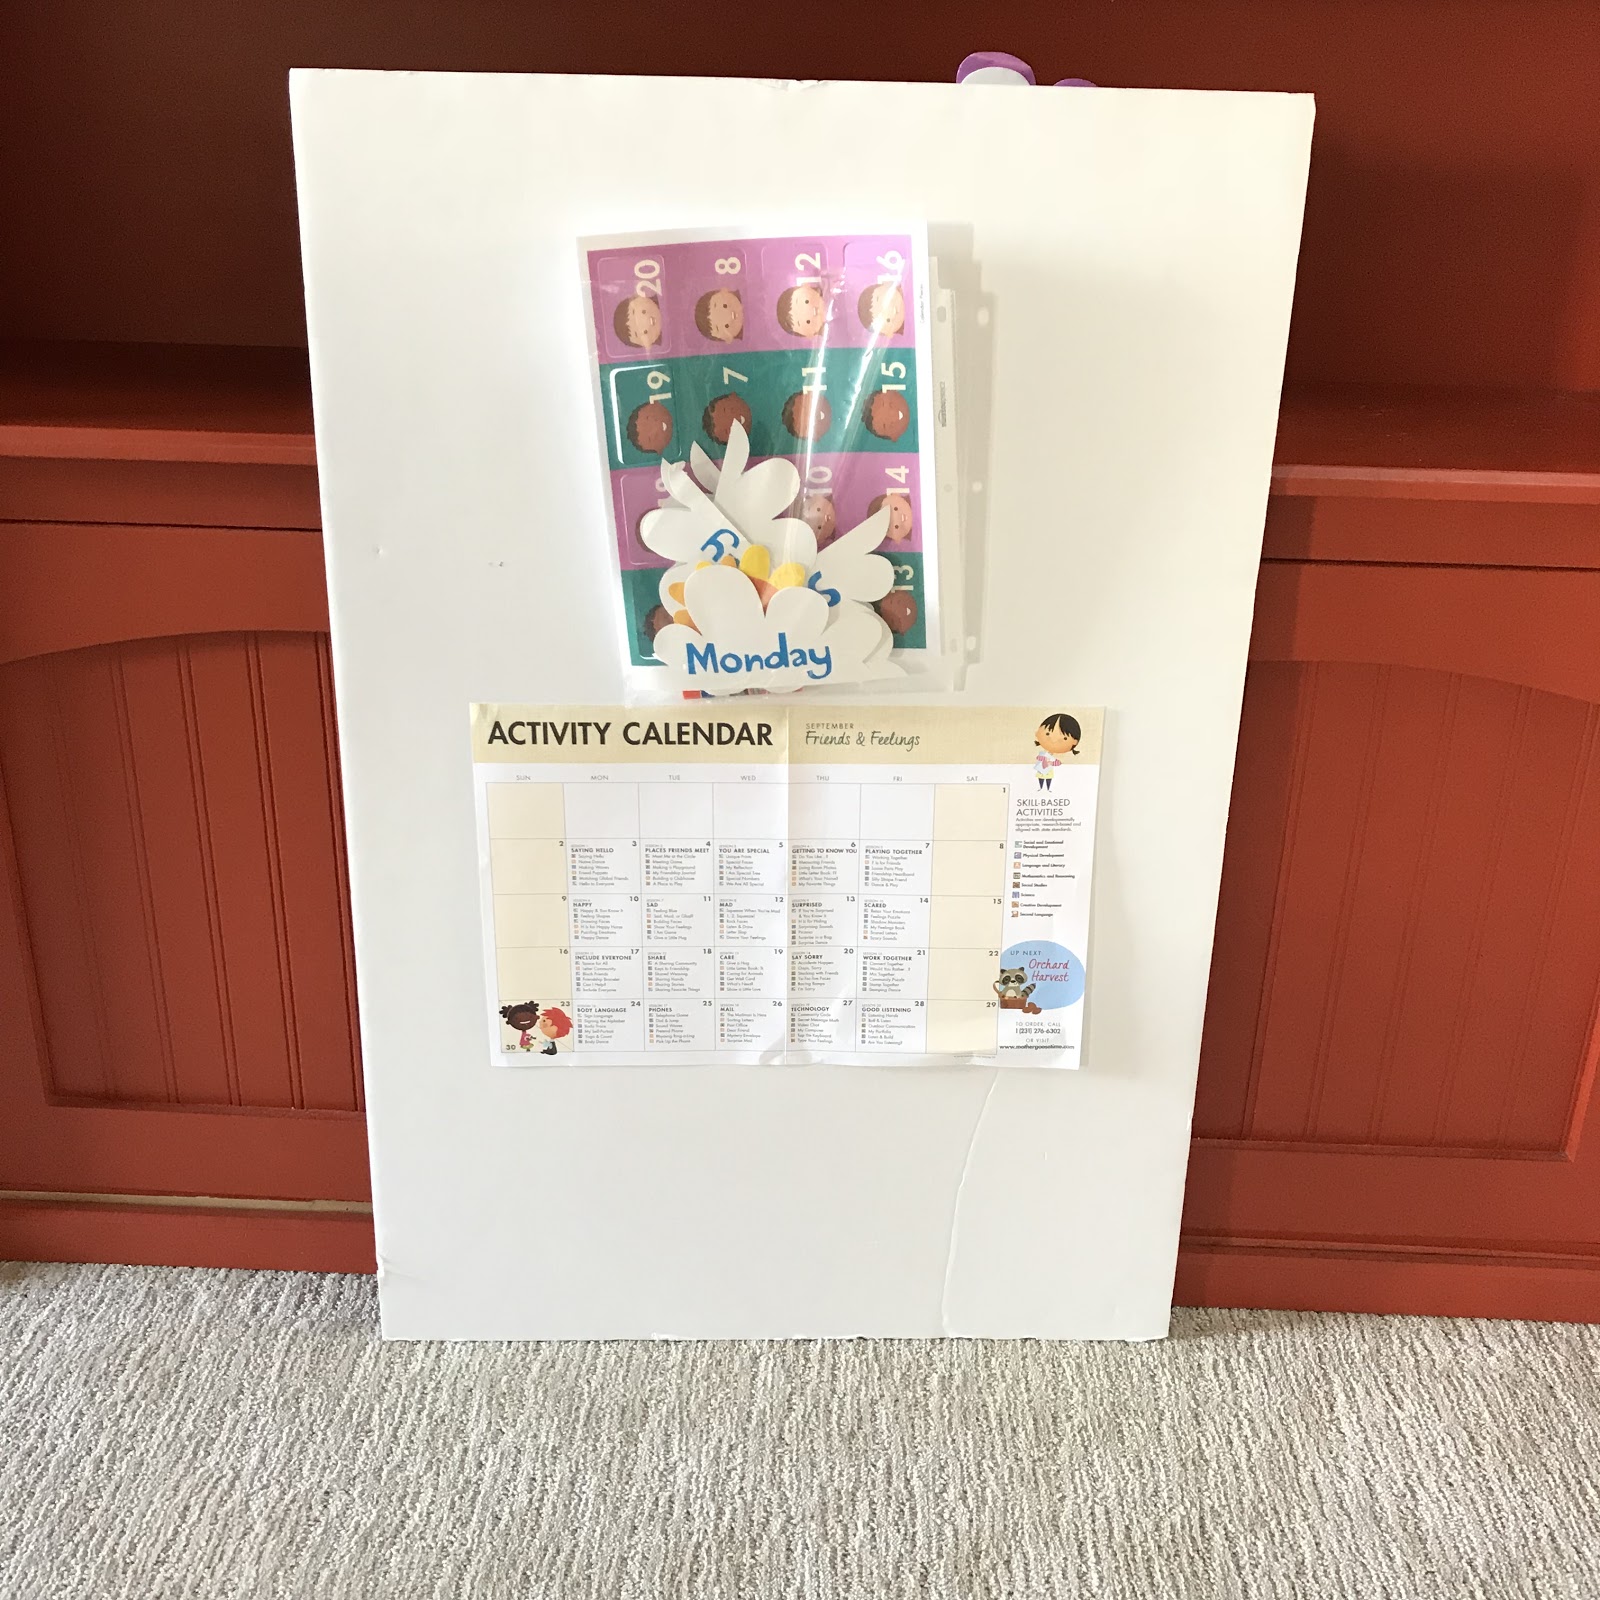
To make it easy to get to, I attached the sheet protector with Velcro Dots for seamless removal. I keep monthly theme posters and interchangeable items on the board with blue putty that hangs items without damaging them.

Step 2: Find a large 3 Ring Binder

This sucker can hold a lot! I’m not even sure why I bought this folder or how old it is, but I had it and wanted to see if a month of bags could fit inside. It sure does! And it is perfect! Here is a folder that is a similar size.

I kept all the pre-bagged lessons (Daily Discovery Bags) closed and simply put them in order by day. The bags are easy to push the rings through, and it holds the bags sturdy. I use a sleeve to hold each week's Teacher Guide and put them at the beginning of each new week.

The left pocket I use to hold various items like “My Little Journal”, that week's Teacher Guide, CDs, Letter Cards, etc.. But to make life even easier, MGT came out with a digital album that you can get from any device with internet access.

I simply use my phone or my Ipad to access music wherever we are since I don't always have a CD player available. This is awesome to have and the girls always enjoy their music!

I bought this slim box at the local dollar store. I keep all of our math tools, magnets and various play items that are included in each month's box. This is a great thing to break out and have your kids play with on their own while you set up. You can use these items for almost everything including math, color organization, categories, building and so much more!

Open your Teaching Guide for that day and see what extra supplies you may need (like scissors, glue or paint) and get yourself ready for homeschooling made easy!

Everything you need for the day will be included in your Daily Discovery Bag! Hang your Daily Topic Photo, the letter you will be learning that day and prepare for an awesome time with your kiddos! For more information on the Mother Goose Time Curriculum, or to see how amazingly affordable it is, visit https://www.mothergoosetime.com/


I simply use my phone or my Ipad to access music wherever we are since I don't always have a CD player available. This is awesome to have and the girls always enjoy their music!
Step 3. Get a Small Storage Box

I bought this slim box at the local dollar store. I keep all of our math tools, magnets and various play items that are included in each month's box. This is a great thing to break out and have your kids play with on their own while you set up. You can use these items for almost everything including math, color organization, categories, building and so much more!
Step 4: Open and GO!
Break out your board, your notebook, your storage box and your phone and you are ready to go!


Everything you need for the day will be included in your Daily Discovery Bag! Hang your Daily Topic Photo, the letter you will be learning that day and prepare for an awesome time with your kiddos! For more information on the Mother Goose Time Curriculum, or to see how amazingly affordable it is, visit https://www.mothergoosetime.com/

After months of being a paying customer, I received this month's box for free in return for my honest and personal experiences!


