This month's
Mother Goose Time box is so awesome I had to share a little more in depth what comes inside. The types of supplies that I am focusing on come inside each month's box, but with a new theme. I won't even be going into the 20 days of activities, but rather focus on the tools you can use and save each month. This month's theme is Nursery Rhymes and it is my favorite so far.
 |
| Here is an example of this month's Circle Time board that you will use your new supplies on |
Each month's box comes with a Circle Time Kit and a Teacher's Tool Bag. Items in these bags will supply you with tools you will use throughout the whole month and beyond! Each month you collect new letters, shapes and numbers along with so much more! I am not even going into the daily bags on this post because there are so many supplies to cover!
Here is this month's Theme Web and Theme Poster. It will break down what topic you will be learning each week and each day.
Week 1: Number Rhymes
-This Little Piggy
-Sing a Song of Sixpence
-1, 2, Buckle My Shoe
-Baa, Baa, Black Sheep
Week 2: Character Rhymes
- Humpty Dumpty
- There Was a Crooked Man
- Itsy, Bitsy Spider
- Hey Diddle Diddle
- Old King Cole
Week 3: Food Rhymes
- Pat-a-Cake
- Old Mother Hubbard
- Little Jack Horner
-There Was an Old Woman
- Hot Cross Buns
Week 4: Little Rhymes
- Little Boy Blue
- Little Bo Peep
- Little Miss Muffet
- Twinkle, Twinkle, Little Star
- Mary Had a Little Lamb
You also receive a
Planning Journal and
Teacher Guide. These will help you plan out your daily activities and explain how to use the tools and supplies provided.
The
Planning Journal Overview page is my favorite! It will show each day and the project you will be creating that day. I plan Bella's outfit off of this page. I can tell whether we will be using paint etc.
They also supply you with a
Gathering Tools List. This list will tell you things you will need to provide for the project. Most of the time it is something super simple or can be substituted with something you have.
Each month also comes with a
Skills Chart. These help you with your assessments. Check out more about their assessment program
here. You can keep track of your child's skills and advancements. All of these supplies come in your Welcome Kit with your first order. I love being able to see the skills Bella is learning and accomplishing.
Now for the fun stuff! Each month you receive a new
Calendar that goes with the theme. Here is this month's! I let my daughter pull out each day and glue them on herself each morning. It is a great way to teach the dates and days of the week. I explain this more
here.
Each month you also learn a couple of new letters. This month's letters are J, R and I. These letter posters can be hung on your Circle Time board each day, and be used with your manipulatives for the children to trace etc.
These smaller letters, words and pictures are meant to be cut and put into a foam
Pocket Cube (included in your
Welcome Kit). We like to mix and match letters and colors and try to decide which letter is which etc. There are endless ways of using these cards! By the end of the school year we will have the whole alphabet!
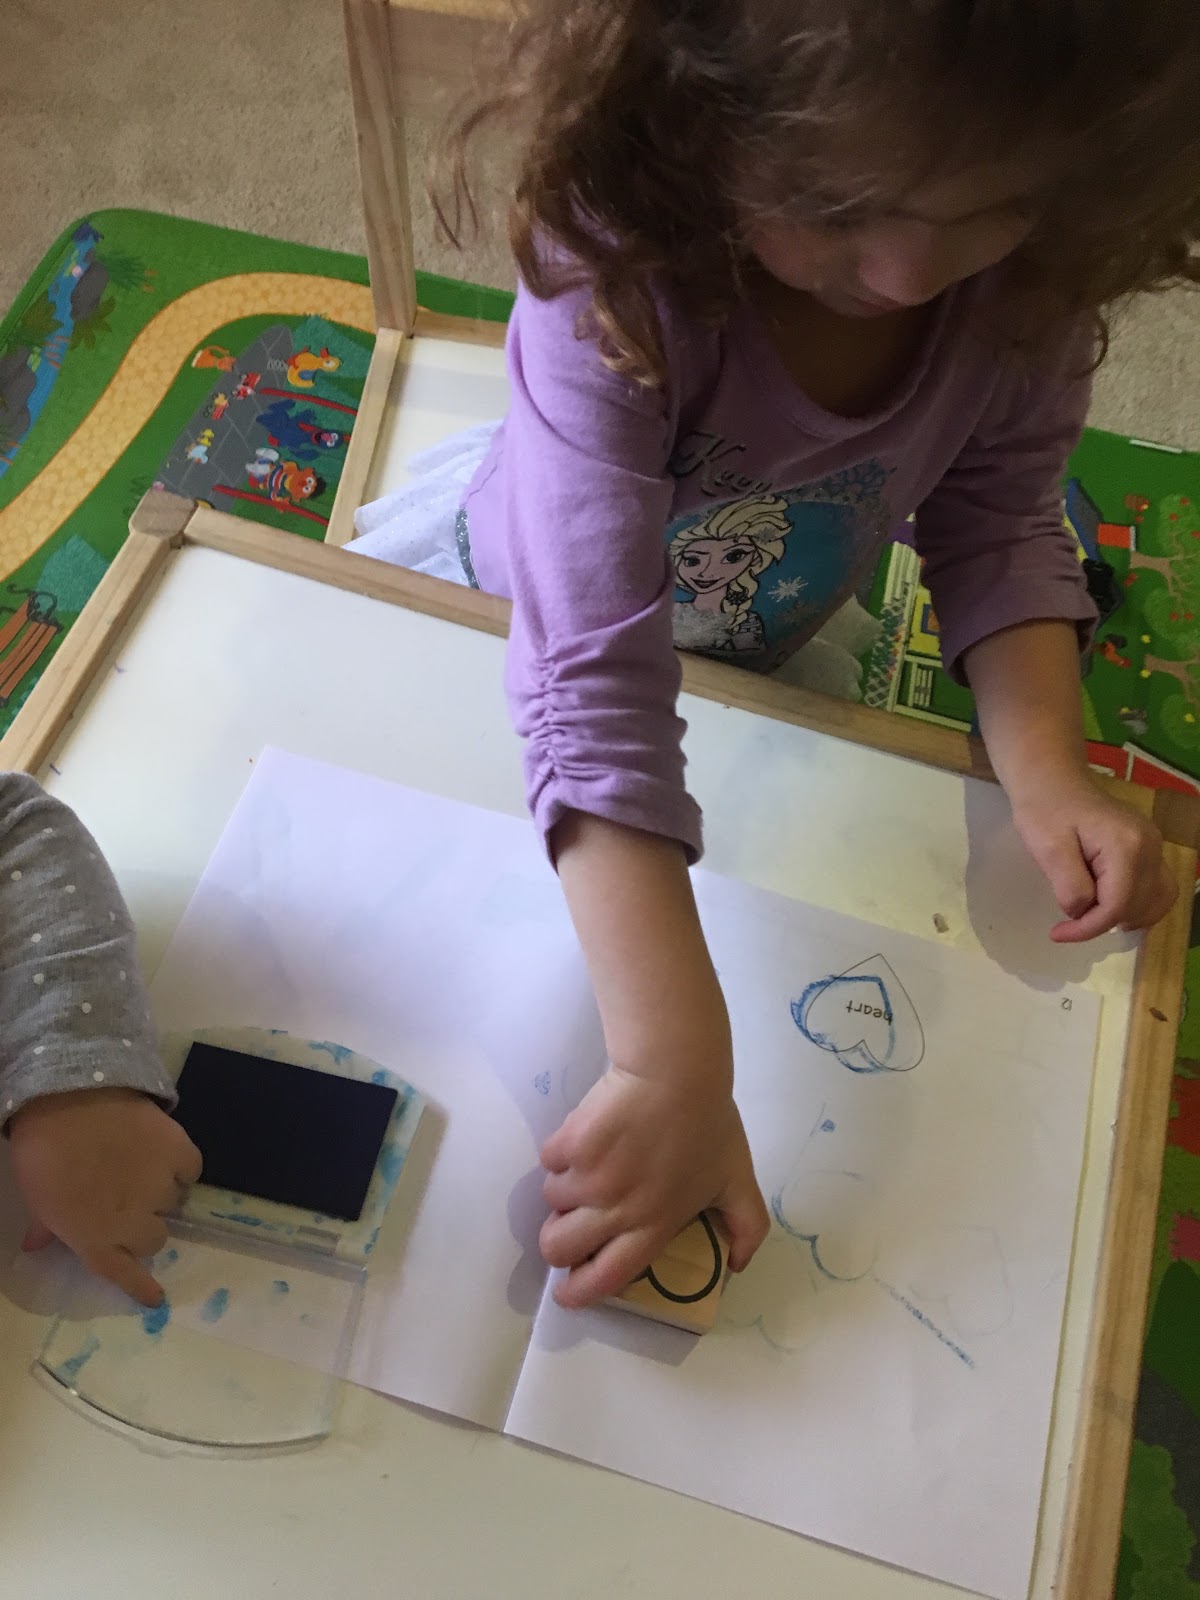
Each month you also receive a new color. This month is Red. You learn a new shape (and get the same shape on a nice wooden stamp) which is Heart. The Red and Heart is fitting for February! You also receive cookie cutters in the shape of your letters you are learning that month. We use these in play dough, sand and for tracing. Again, the possibilities and uses are endless!
Each month you receive an awesome Dance 'n Beats CD with songs that match the theme. I love the Nursery Rhyme songs this month! They are the classics you grew up with. You also receive Circle Time Songs which have new lyrics to match music from your Circle Time CD.
Simply cut out the cloud shapes, duck and numbered fish to add to your Circle Time board (like shown on the first photo).
One of my (and the girls) favorite supplies we receive each month is the manipulatives! Manipulatives are fun little toys/objects that help teach the children skills or help them learn to count/categorize/separate. This month came with nice wooden blocks with holes that the child can string shoestrings through. This will be excellent at developing Bella's fine motor skills.
It also came with these cute sheep. I will ask Bella to separate the Blue from the Yellow, put all the bigger ones together, count out a certain number etc. Ideas are also offered in your Teaching Guide.
Each month you receive a beautifully illustrated book and this one is by far my favorite. Inside is every classic Nursery Rhyme! This is something I did not have in paper, only from memory. The girls and I have already read this multiple times.
Here is an example of the rhymes inside with illustrations!
Each month you also receive a puzzle to go with the theme. This is another one of my favorite items included. We have collected 6 puzzles and books. They are sturdy and the kids love to play with them again and again.
This is Bella's new "
My Little Journal". In this we explore certain colors, new numbers and new letters. The Teacher Guide also gives ideas for things to draw with each days lesson.
Here is an example of what a page looks like inside the journal! I save the journals so I can see how much Bella has progressed over the months. I let her to the journal without influence so I can see authentic progression.
Lastly, I will go over Bella's "
Look! I Can Read!" book. Each month she receives a new book with new words and letters. She searches the book for the words that match. PRICELESS. I save these and will continue to use them over and over. I love this idea and the way it gets Bella involved in reading.
Like I mentioned earlier, this is only the Circle Time items and tools you get every month! I haven't even gone into the 20 DAYS OF PROJECTS! I HAVEN'T EVEN GONE INTO THE 20 DAYS OF PROJECTS! I mean, this box is the best value. I am always impressed with all of the items I receive that I get to reuse over and over again while teaching my daughter such amazing and original topics.
If you want to see more, you can learn more about what comes in a typical Mother Goose Time box at their website
here!
After months of being a paying customer, I received this month's box in exchange for sharing my personal experiences!